Choose the spot before digging
A perennial may return for years, so begin by matching the plant to the site rather than choosing a space solely because it is empty. Check the nursery label for light, mature width, soil moisture and drainage preferences. Watch the planting area over a day to see how much direct sun it receives. In a shared bed, leave enough room for neighboring plants and for people to reach paths without stepping into the soil.
Plant when the soil is workable and conditions are not especially stressful. A mild, overcast day can make the transition easier than a hot, windy one. Water the plant in its container before planting if the potting mix is dry; a dry root ball can be difficult to wet thoroughly after it goes into the ground. If you cannot plant promptly, keep the pot watered and sheltered from harsh conditions.
Set the crown at the right depth
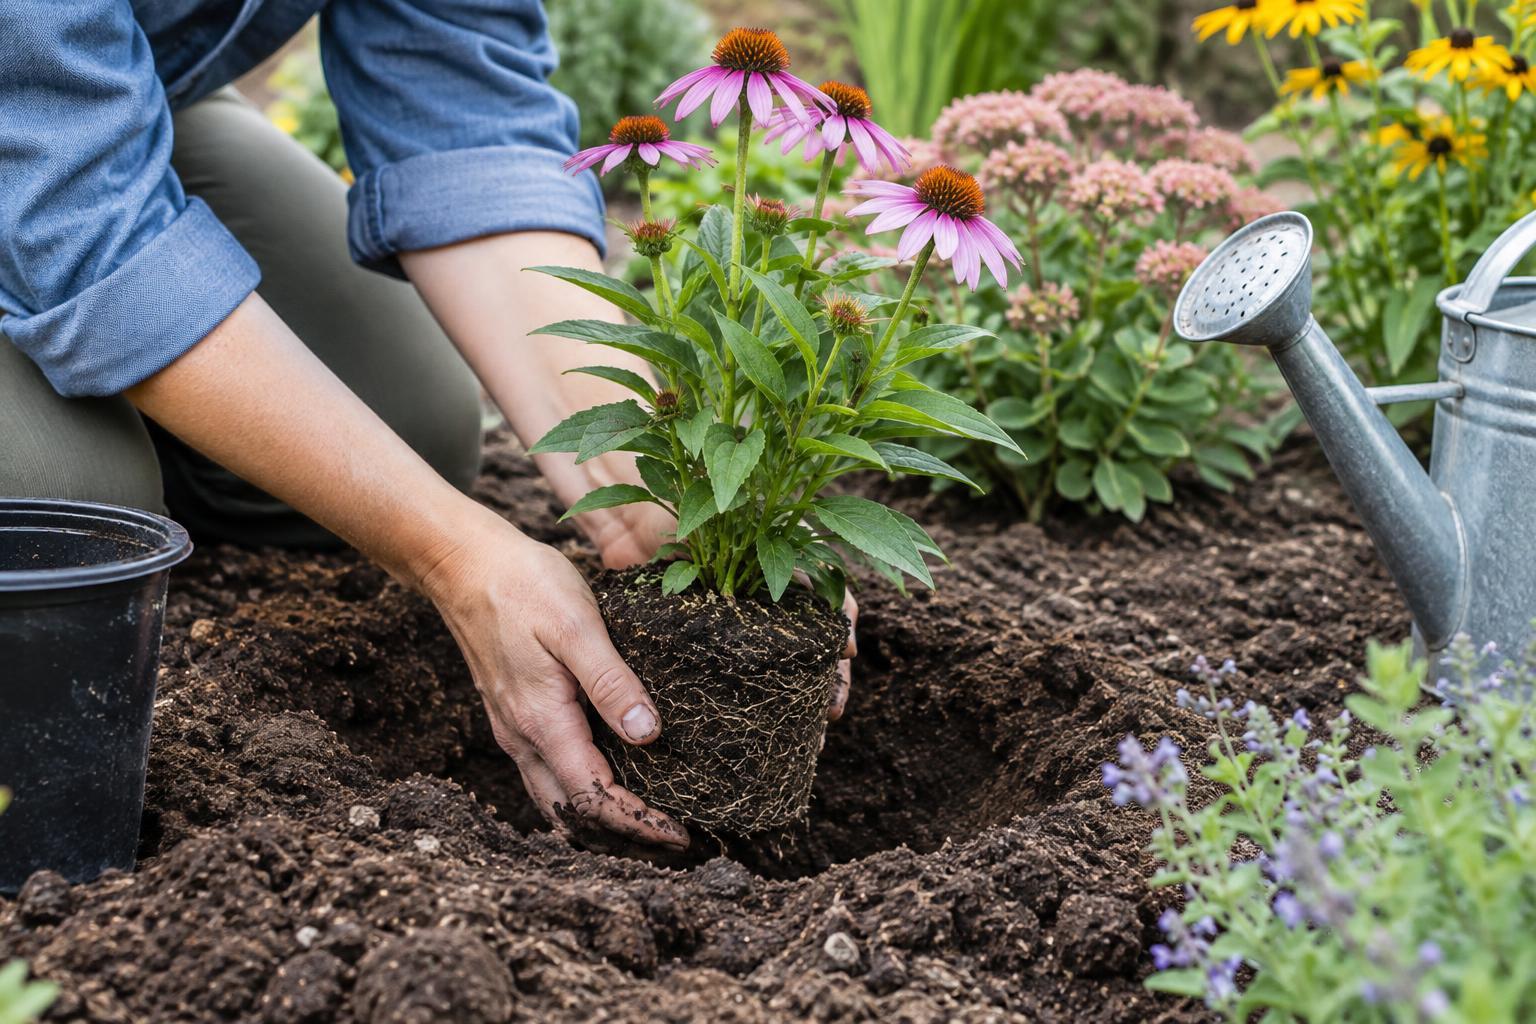
Dig a hole about as deep as the root ball and wider than the pot. Loosen the soil around the hole so new roots can grow beyond the container-shaped space. Resist the urge to dig a much deeper hole and fill it with loose soil: that soil can settle, leaving the plant too low. If drainage is poor, choose a perennial suited to moist soil or improve the planting area rather than relying on a deep hole filled with different soil.
Slide the plant from its container and look at where the stems emerge from the roots. For most nursery-grown perennials, this crown should sit at about the same level it occupied in the pot, with the top of the root ball level with the surrounding soil. If loose potting mix covers the crown, gently brush it away so you can judge the depth. Some perennials have specific planting-depth needs, so follow plant-specific guidance when it differs.
Check the roots before backfilling. If they circle tightly around the pot, gently tease some outward; make a few shallow cuts along a dense outer layer if it will not loosen by hand. Keep the root ball largely intact if roots are sparse or fragile. Return the excavated soil around the plant, pressing gently to close large air pockets without compacting the bed.
Water the root ball and surrounding soil
Water immediately after planting, applying enough to moisten both the original root ball and the soil beside it. Water helps settle soil around roots, but it cannot correct a plant set too deeply. Recheck the crown after watering and lift the plant if it has sunk below the surrounding grade.
During establishment, check moisture rather than following a fixed daily schedule. Push a finger a few inches into the soil near the root ball and, if possible, check the potting mix itself. The two can dry at different rates. Water slowly when the root zone begins to dry, allowing moisture to soak in rather than run off. Avoid keeping it constantly soggy: roots need air as well as water.
Rainfall, temperature, wind, soil type and plant size all affect how often watering is needed. A recently planted perennial may need closer attention during a dry spell, while one planted in cool weather may need less frequent watering. Wilting can signal dry soil, but it can also occur when roots sit in overly wet soil, so check moisture before adding more water.
Protect the planting without burying it
Spread a modest layer of mulch around the plant to help conserve moisture and limit weeds, but leave a clear space around the crown and stems. Mulch piled against the plant can hold excess moisture where new growth emerges. Keep nearby weeds from competing for water while the perennial is settling in, and avoid cultivating deeply around its developing roots.
A newly planted perennial does not need to look full right away. Some plants pause aboveground growth while roots expand; others flower from energy stored before purchase. Remove damaged foliage as needed, but do not assume a temporary slowdown means failure. Fertilizer is not a substitute for suitable light, drainage and watering. If the plant's label calls for feeding, follow it conservatively rather than adding a strong dose to a stressed plant.
Watch for signs of establishment
Over the first growing season, look for steady new growth, leaves that remain reasonably firm between waterings, and a plant that stays anchored when the surrounding soil is gently pressed. Growth rates vary by species and season, so compare the plant with its own recent condition rather than with a mature neighbor. If it struggles, revisit the basics: planting depth, root-ball moisture, drainage and light.
Continue checking moisture even after the first flush of growth, especially during extended dry periods. As roots spread into the surrounding soil, you can gradually water less often while wetting a broader area when you do water. In a community planting, a simple note of the plant's name, planting location and watering responsibility helps everyone give it consistent care without watering twice or overlooking it.