Decide what the mulch needs to do
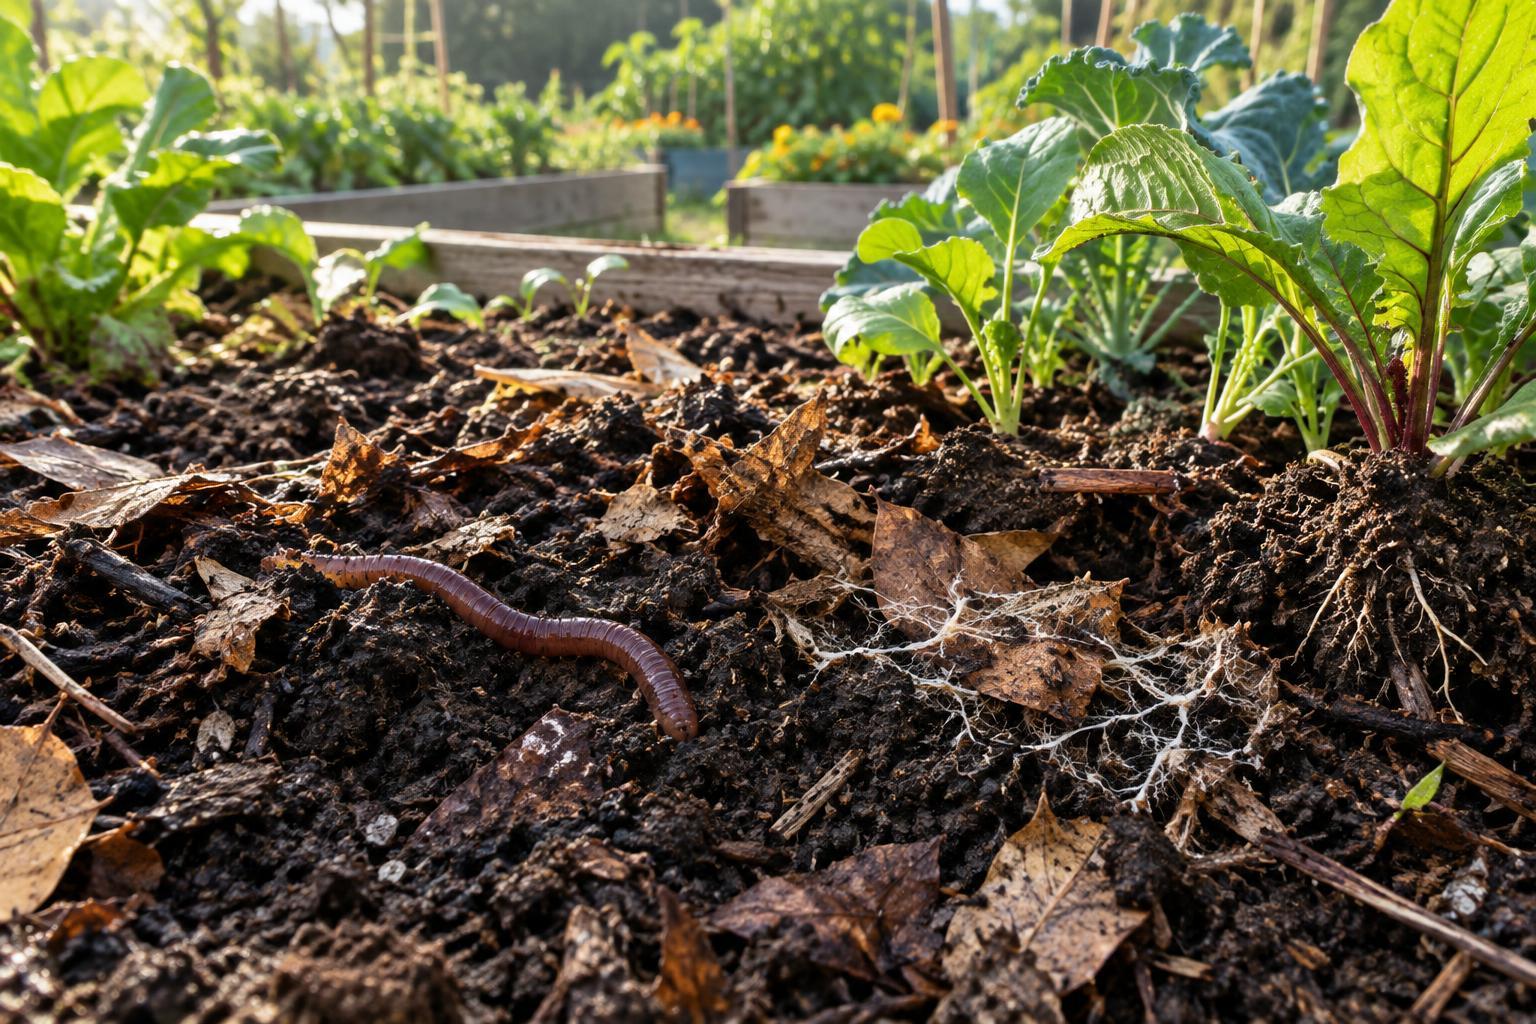
A layer of mulch covers bare soil, slowing evaporation, softening the impact of rain, and making it harder for some weeds to establish. In a shared garden, it can also make bed edges easier to see. Mulch is not a substitute for watering, weeding, or improving the soil, but it can make those jobs more manageable.
Start by separating beds from paths. Vegetable beds may suit materials that are easy to move aside when planting, such as clean straw or shredded leaves. Permanent planting areas may suit wood chips better, especially around established shrubs and perennials. Paths often need a coarser, more durable covering than beds. Keeping materials in their intended places helps prevent path mulch from being dug into growing soil.
Choose a material the garden can maintain
Before accepting a delivery or collecting donated material, consider how it will be stored and spread. Shredded leaves can settle into a useful soil covering, but a thick layer of whole leaves may mat together. Straw is light and convenient around vegetables, though gardeners may need to pull occasional sprouted grains. Wood chips can serve well on paths and around established ornamentals, but large pieces may be awkward in a bed that is replanted often.
Use materials whose contents you can reasonably identify. Keep pieces of plastic, painted wood, and other unwanted debris out of beds. If a donated load contains unfamiliar plants or many seeds, pause before spreading it through the garden. A small trial area is easier to watch and correct than an entire site.
Prepare the bed, then leave space around plants
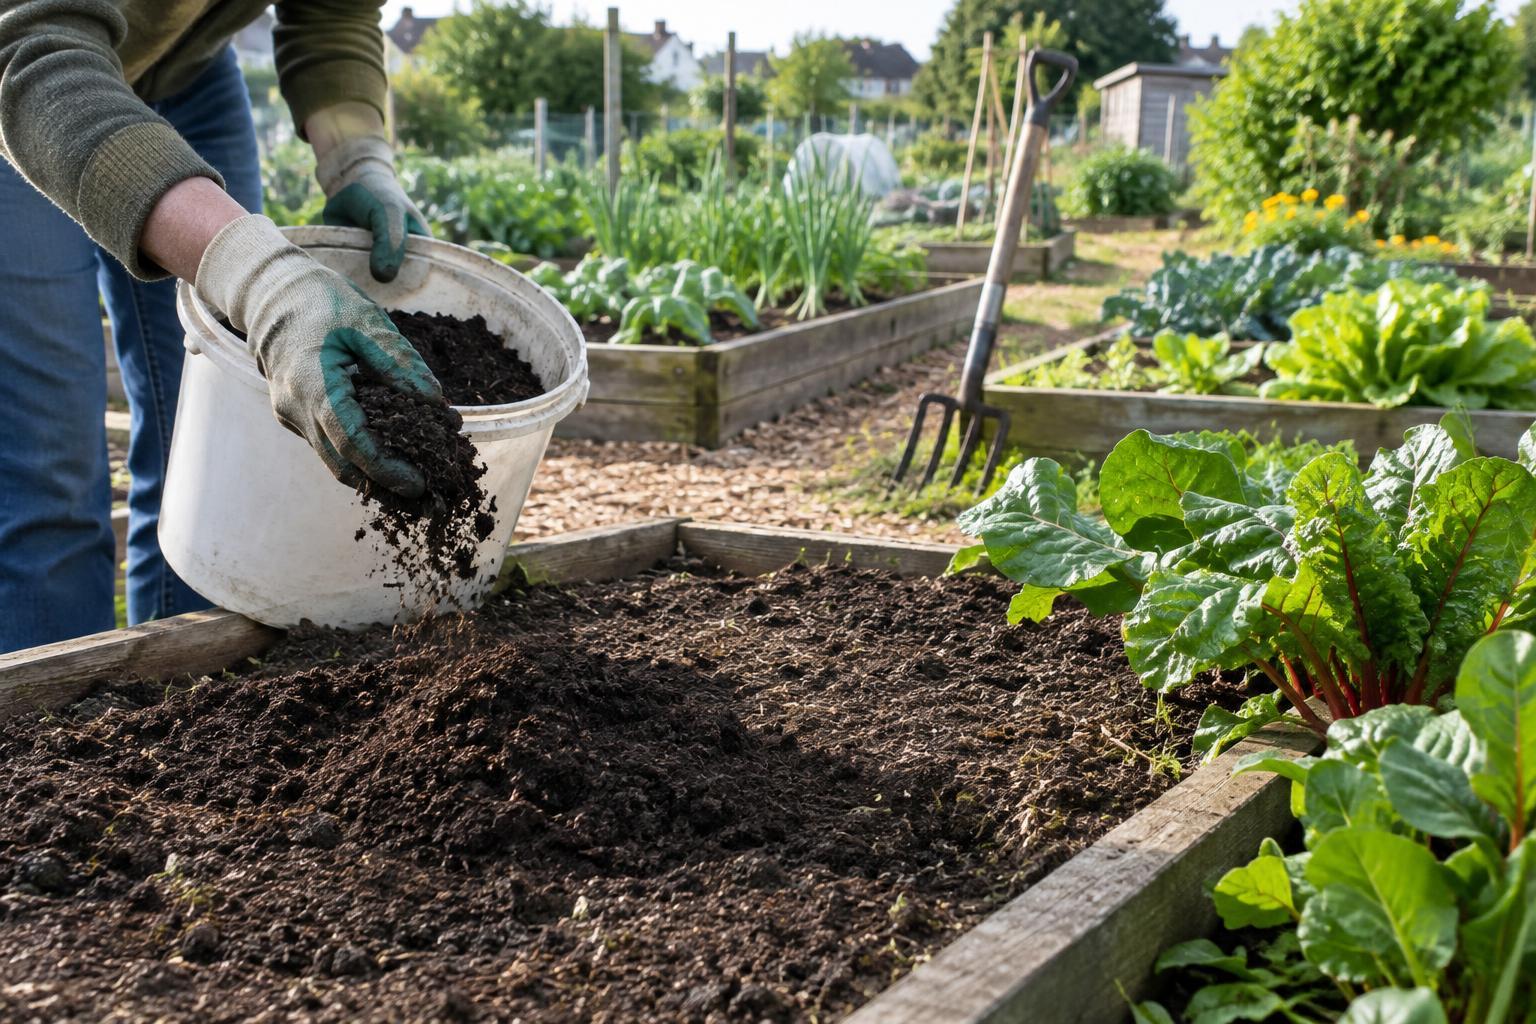
Weed and water the bed before mulching. Pulling established weeds first is usually easier than trying to reach them through a new covering. If the soil is dry, watering it before adding mulch helps ensure the layer is conserving moisture rather than simply covering a dry bed. Work around seedlings carefully so they remain visible to the next person tending the plot.
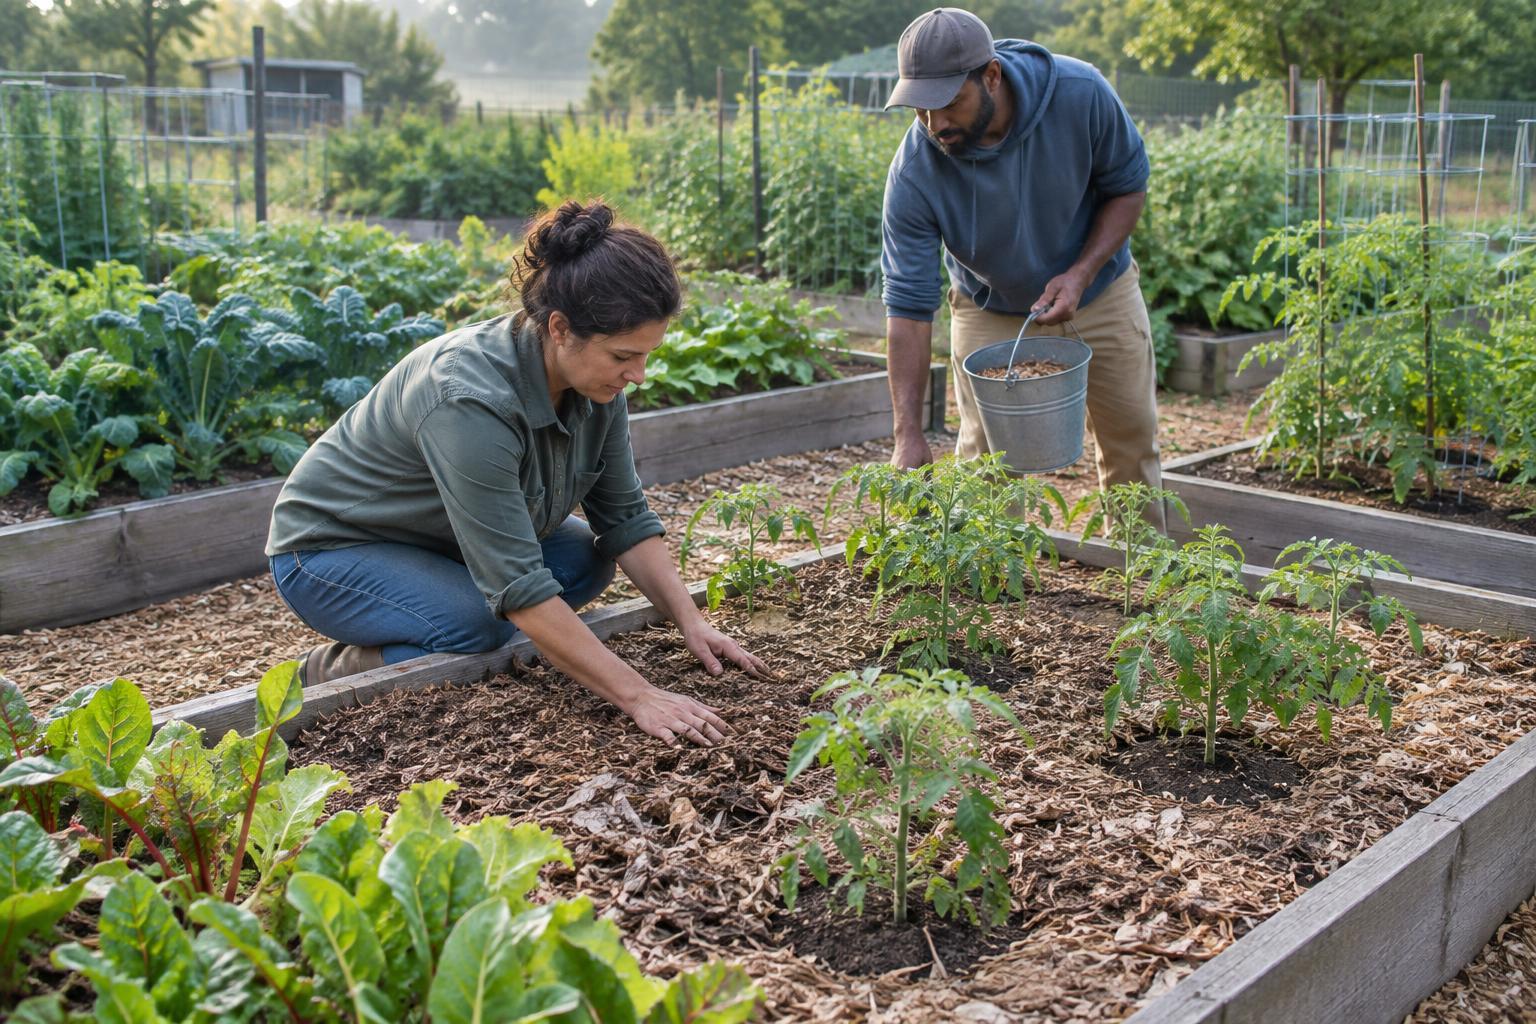
Spread mulch in an even layer rather than building mounds. Leave a visible gap around stems and the bases of shrubs and trees; mulch pressed against them can hold moisture where it is not wanted and make problems harder to notice. Keep planting rows and labels easy to find. Where seeds need to emerge through the soil surface, wait until seedlings are established before covering the space between them.
Check beneath the surface
A mulched bed may look damp on top while the soil below needs water, or look dry while the soil remains moist. Move the mulch aside and feel the soil before deciding to irrigate. Water slowly enough to reach the soil rather than wetting only the covering. If rain seems to be running off a matted layer, loosen or thin that area and check again after the next watering.
Mulch changes as it weathers. Leaves and straw settle and break down; chips can shift into paths or collect against plant crowns. Refresh thin spots when soil becomes exposed, but do not keep adding new layers without checking what remains underneath. Pull weeds while they are small, including any that root into the mulch itself.
Make upkeep a shared task
A simple site agreement can prevent confusion: identify which material belongs in beds, which belongs on paths, and where spare mulch should be stored. Mark any newly seeded areas so a well-meaning volunteer does not cover them. When several people work the same bed, a note about recent watering or mulching can save effort and protect young plants.
At the end of a growing season, inspect the bed rather than assuming all mulch must be removed or buried. Move it aside where you need to sow, and leave a suitable covering on soil that would otherwise remain bare. The aim is not a perfectly uniform surface. It is a manageable layer that protects soil while allowing every gardener to see, plant, water, and maintain the bed.