Start with the soil, not the calendar
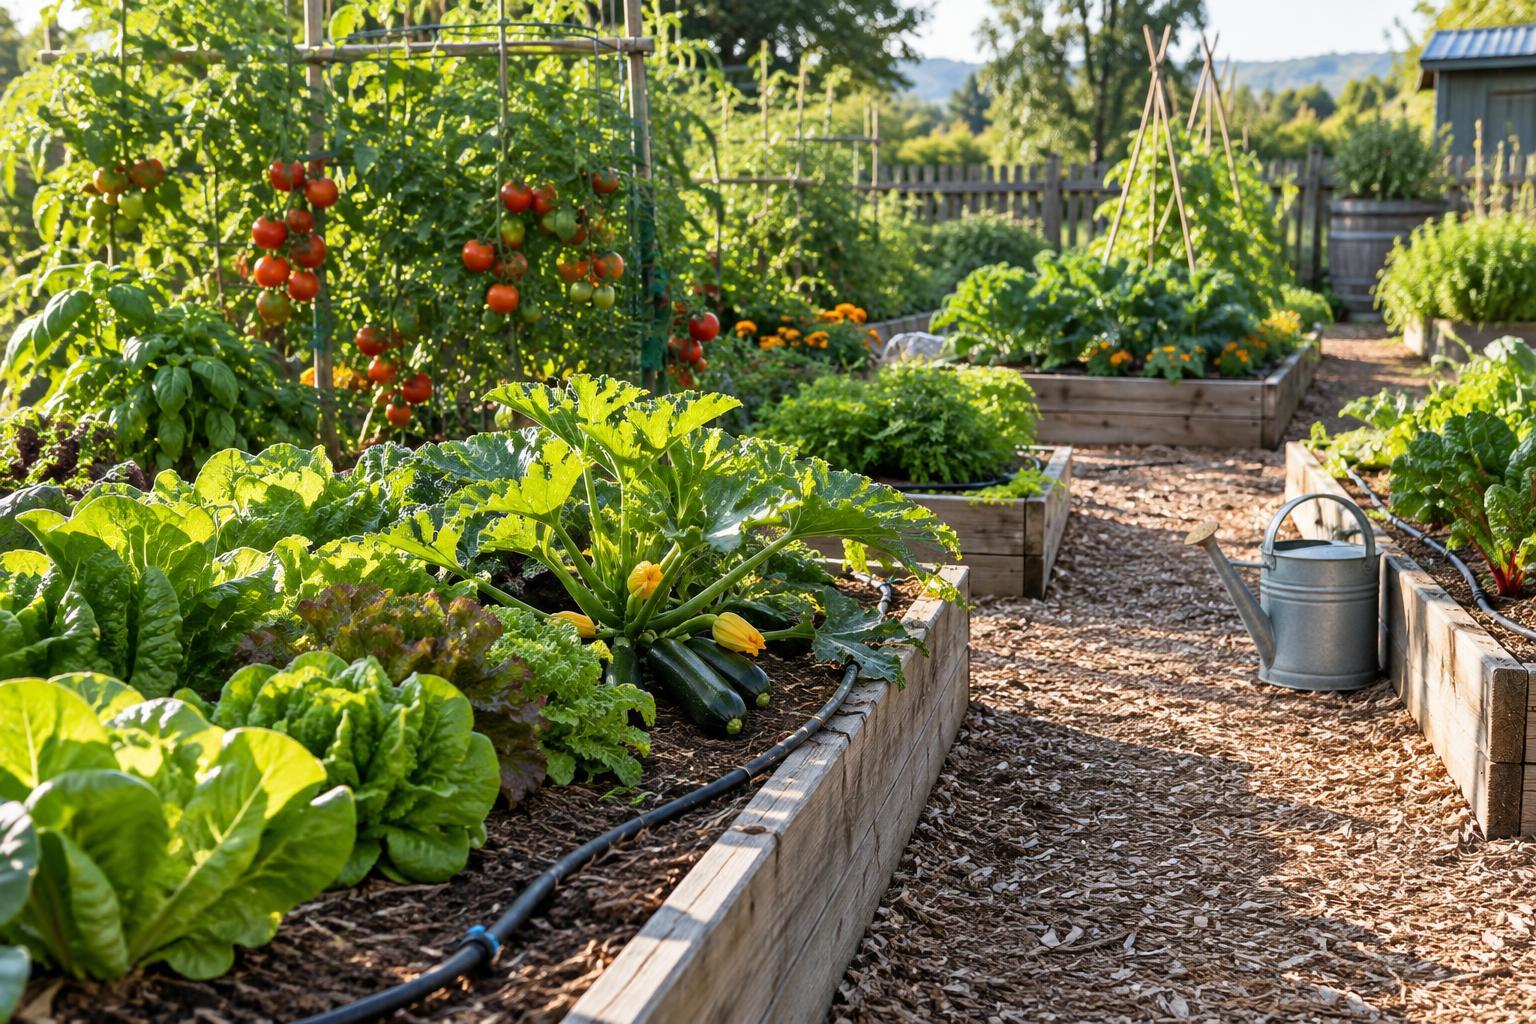
Mulch is a layer of material laid over soil rather than mixed into it. Organic choices such as shredded leaves, straw, untreated wood chips and finished compost can help limit weeds, reduce moisture loss and soften temperature swings. As they break down, they also become part of the garden’s organic matter. Different materials break down at different rates, so a bed covered with straw will need attention sooner than a path covered with wood chips.
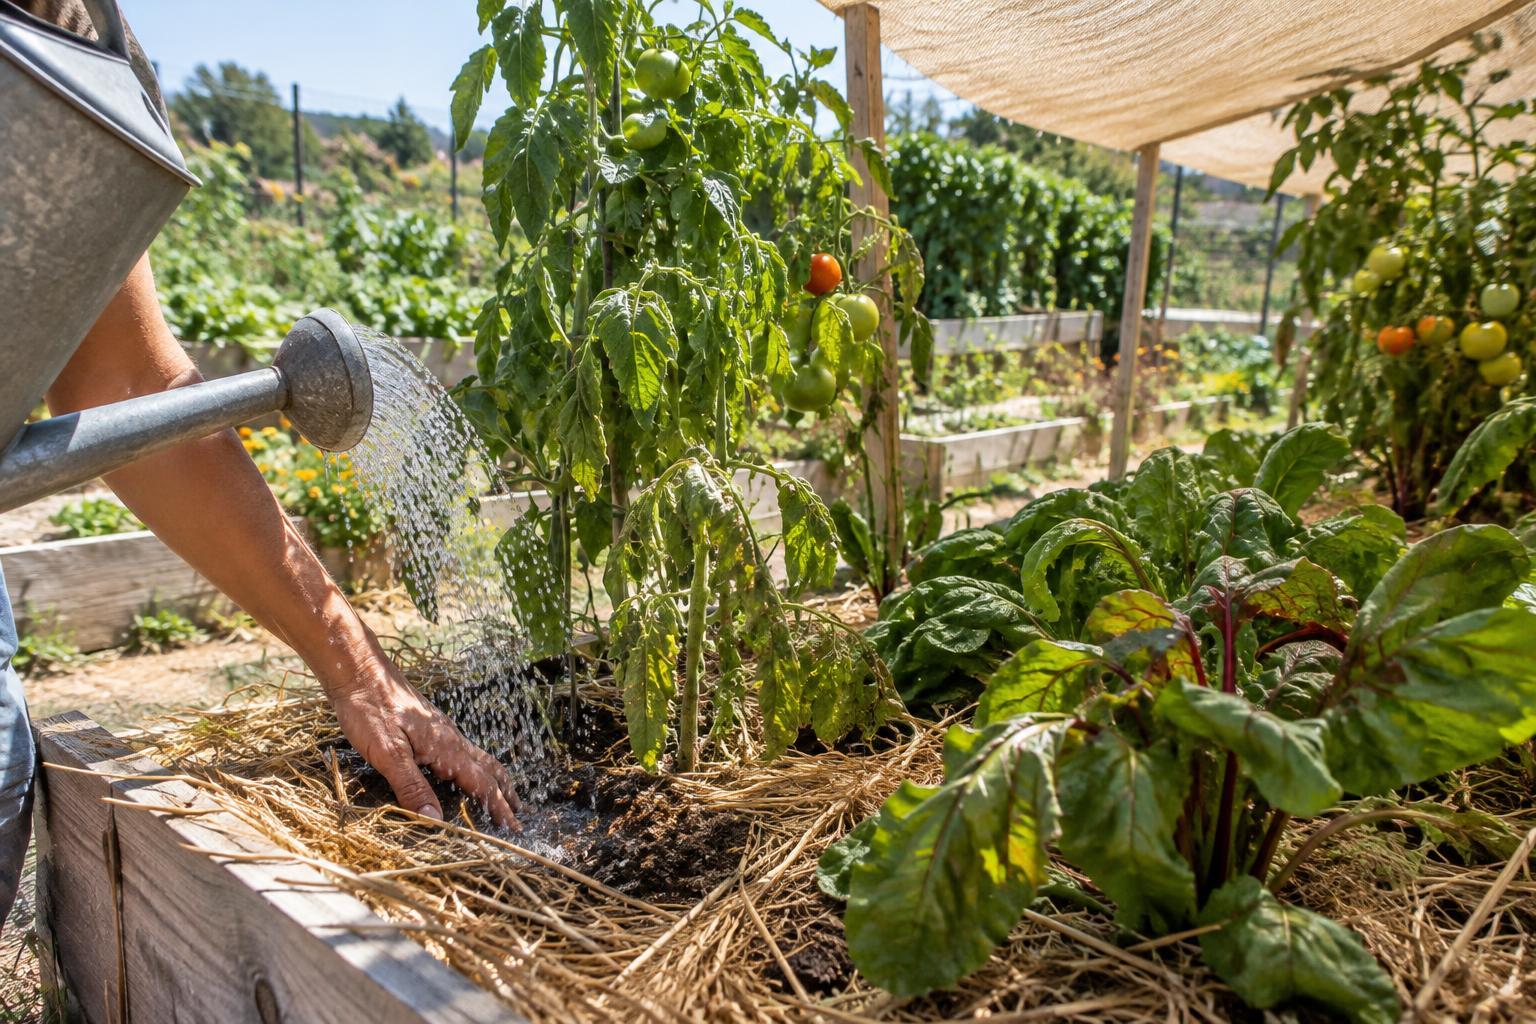
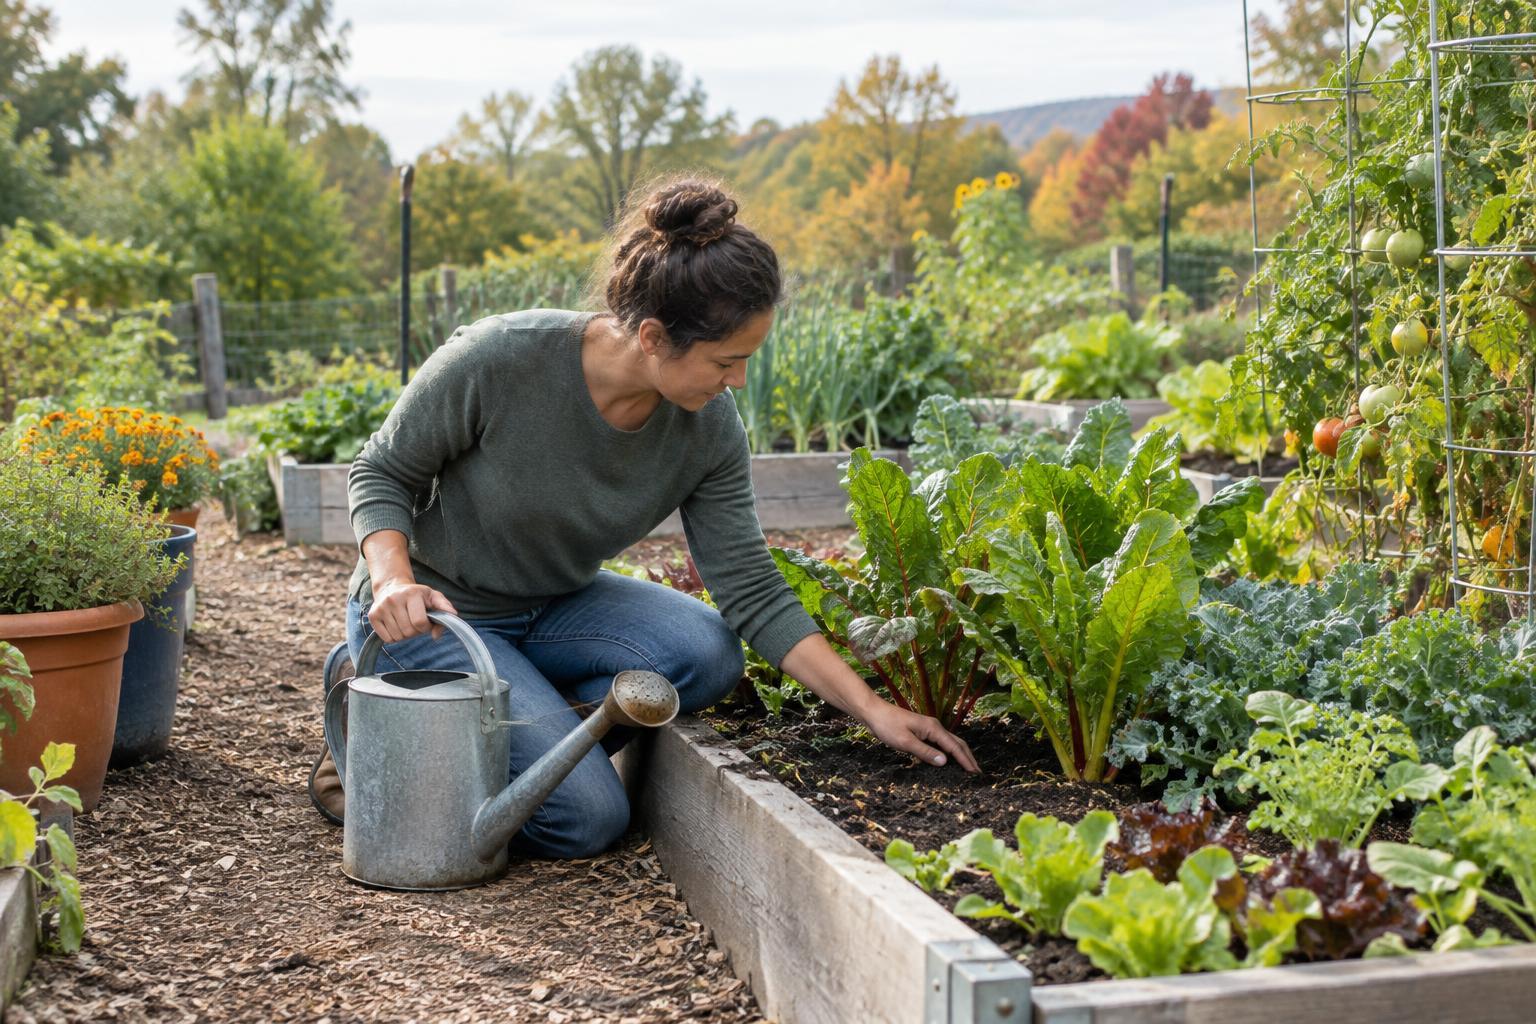
Before adding anything, look beneath the existing layer. If the soil is dry, water it first; mulch helps retain moisture but does not replace watering. Pull weeds, clear debris that may shelter pests and check how much mulch remains. Aim for a loose layer that covers the soil without burying plants. Around established beds, roughly two to three inches of coarse organic mulch is often enough, but use less near small seedlings or where the material mats tightly. Keep mulch away from stems, trunks and plant crowns so air can circulate at their bases.
Spring: let beds warm before covering them
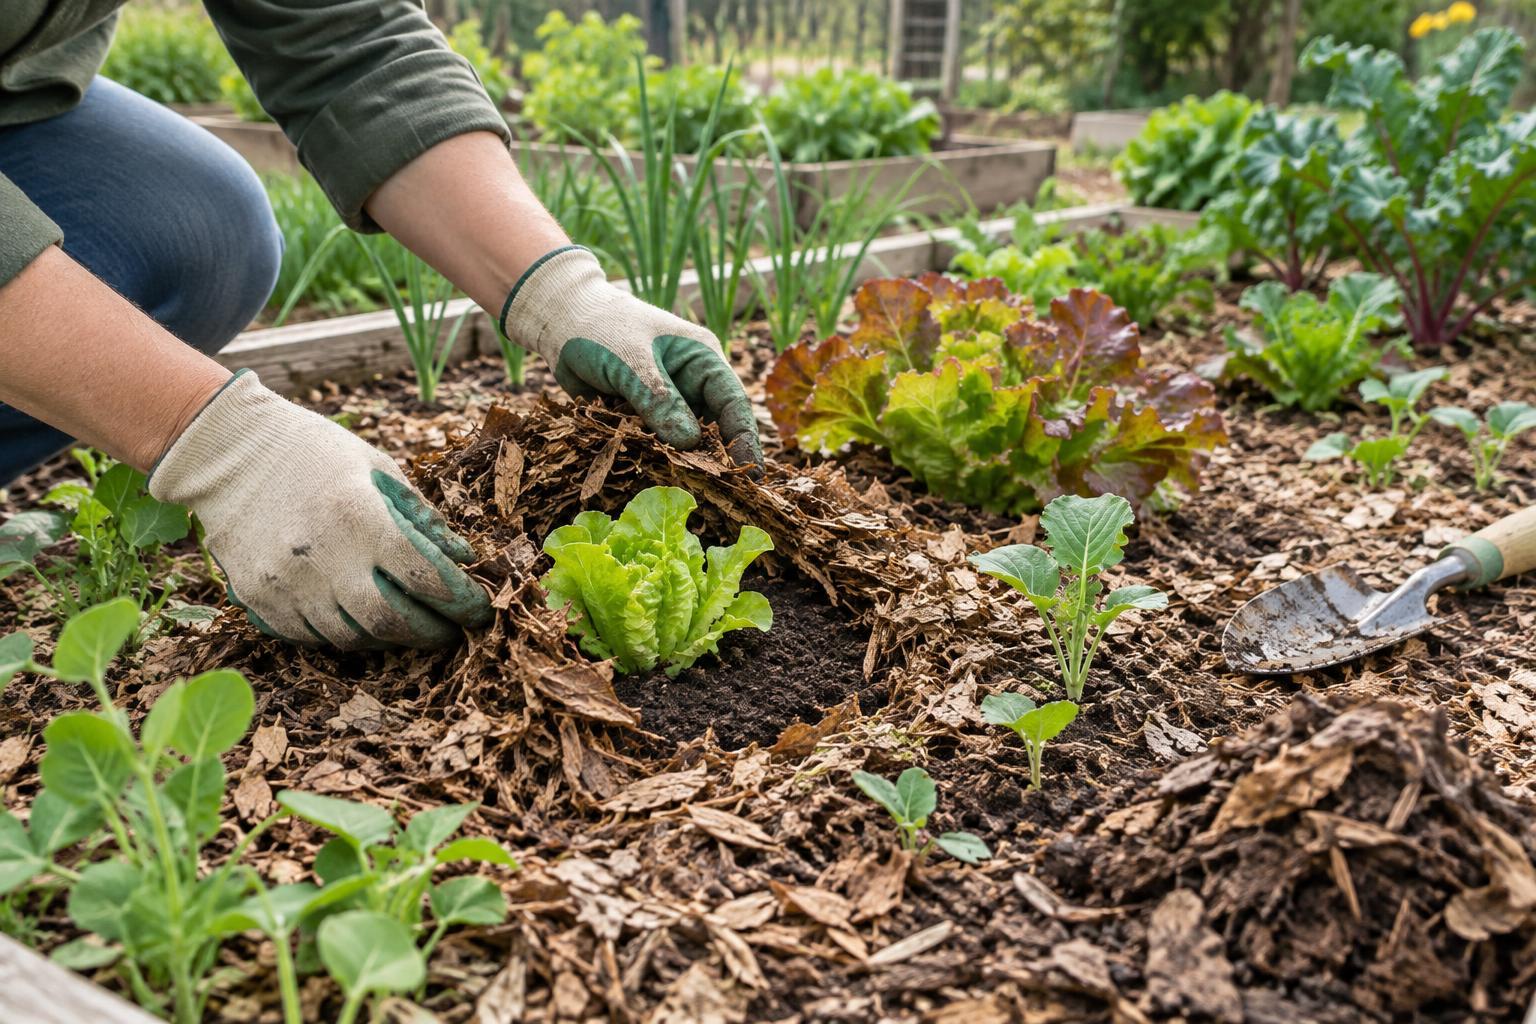
In spring, timing depends on what is growing. Bare vegetable beds may warm and dry more slowly under a thick layer of mulch. If you plan to sow seeds directly, pull last season’s mulch aside and prepare a clear strip of soil. Leave that strip open while seeds germinate and young plants establish. Once seedlings are sturdy, move mulch back gradually, keeping it clear of their stems.
For transplants, water the planting area, set the plants, then mulch the surrounding soil. Leave a small open ring around each stem. Perennial flowers and other established plants can usually be mulched after new growth is visible and the bed is tidy. Take care not to cover emerging shoots or low-growing foliage. Spring is also a good time to break up any compacted mulch so water can reach the soil rather than running off the surface.
Summer: refresh only where coverage has thinned
During warm weather, mulch is especially useful for reducing evaporation and limiting weeds that compete for water. Check beds after watering or rain: if you can see wide patches of bare soil, a light top-up may help. If coverage is still even, there is no need to add more simply because a new season has begun. Repeatedly piling on material can make a bed too thick and hide problems at the soil surface.
Spread new mulch loosely and keep it off plant stems and leaves. In edible beds, clean straw or shredded leaves can be easy to move aside for harvesting or a later sowing. On shared plots, mark any newly seeded rows before mulching nearby so another gardener does not mistake the open soil for an unfinished task. Continue checking moisture with a finger beneath the mulch; a dry-looking surface does not always mean the root zone is dry, and a damp surface does not guarantee it is moist below.
Autumn: cover open soil and prepare for change
As annual crops finish, remove unwanted plant debris and persistent weeds before covering the bed. A layer of shredded leaves or other suitable organic mulch can protect open soil from heavy rain and reduce the amount of bare ground through the colder months. Shredding leaves helps them settle more evenly and makes them less likely to blow across neighboring paths. Avoid thick, wet mats of whole leaves over low plants, where they may block air and light.
Autumn is also a useful time to review material choices. Reserve wood chips for paths or established ornamental areas rather than mixing fresh chips into vegetable soil. If a bed holds overwintering plants, leave their crowns uncovered and check that mulch has not drifted against stems. In a community garden, agree on where leaves and other mulch materials should be stored, and keep paths, drains and shared access points clear.
Winter: inspect, then pull back when needed
Mulch may shift in wind or flatten under rain and snow. When the ground is accessible, look for exposed soil, soggy clumps and material piled against woody stems. Redistribute what is there before bringing in more. Around shrubs and trees, maintain a visible gap at the trunk instead of forming a mound. If you notice signs of animals sheltering close to plant bases, increasing that gap may help make the area less inviting.
Toward the end of winter, decide which beds need to warm for early sowing and which will remain planted or covered. Pull mulch back from seed rows when you are ready to prepare the soil, but leave it in place elsewhere until there is a reason to move it. This simple cycle—inspect, clear space, apply and refresh—makes mulch a flexible tool rather than a once-a-year chore.