Decide What the Bed Needs
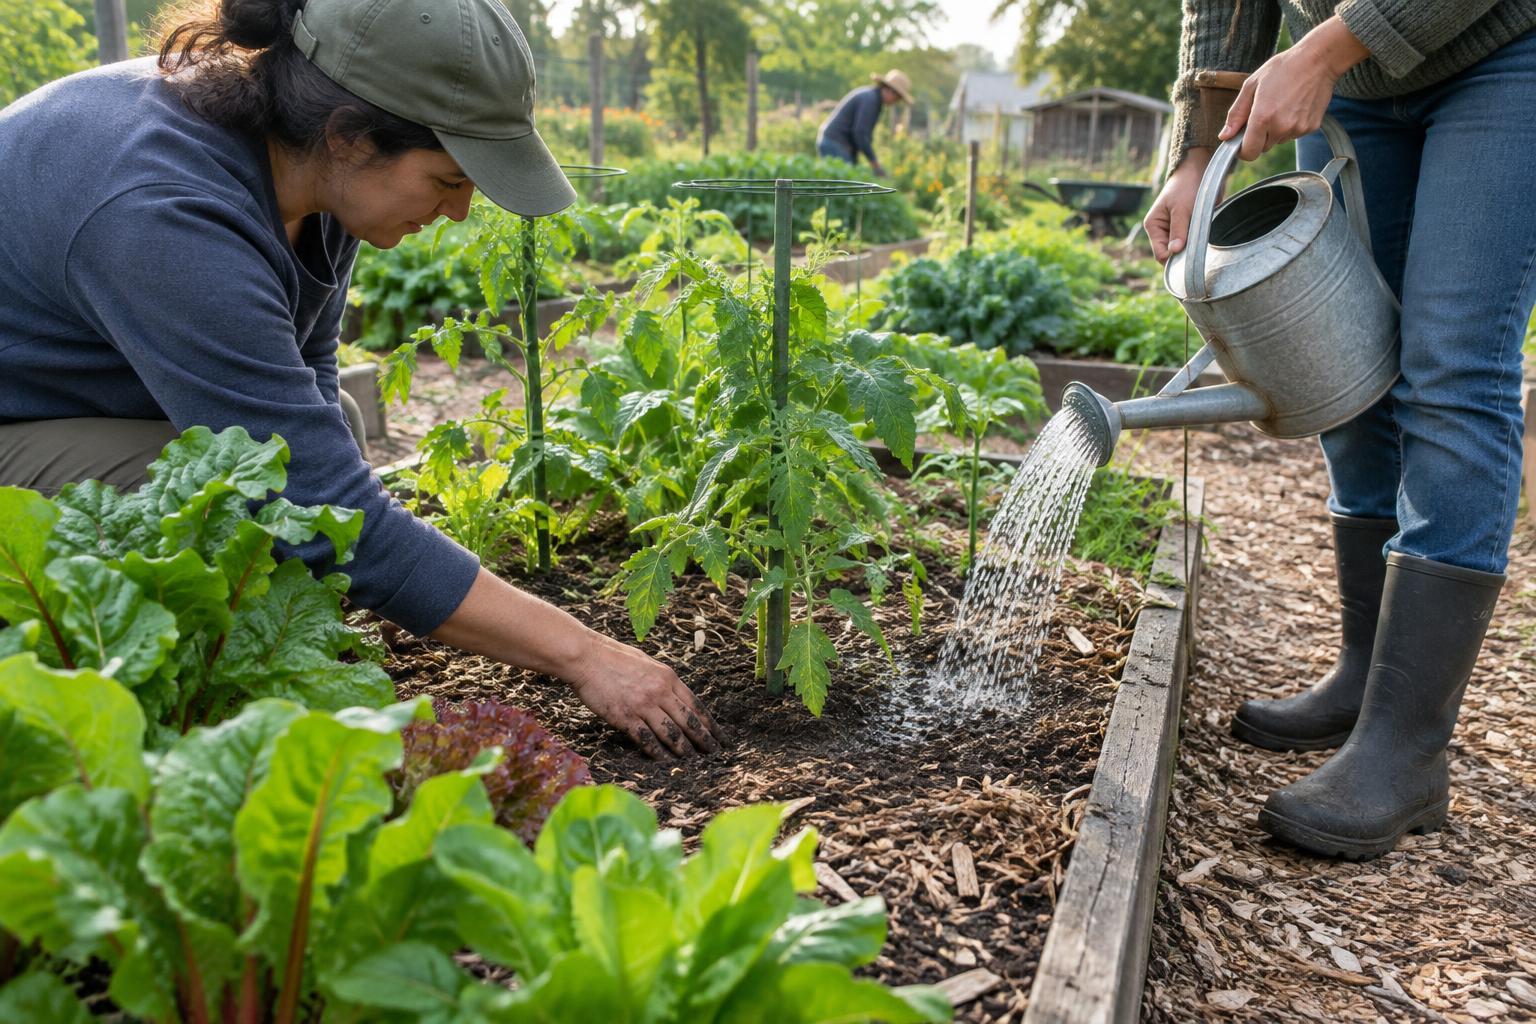
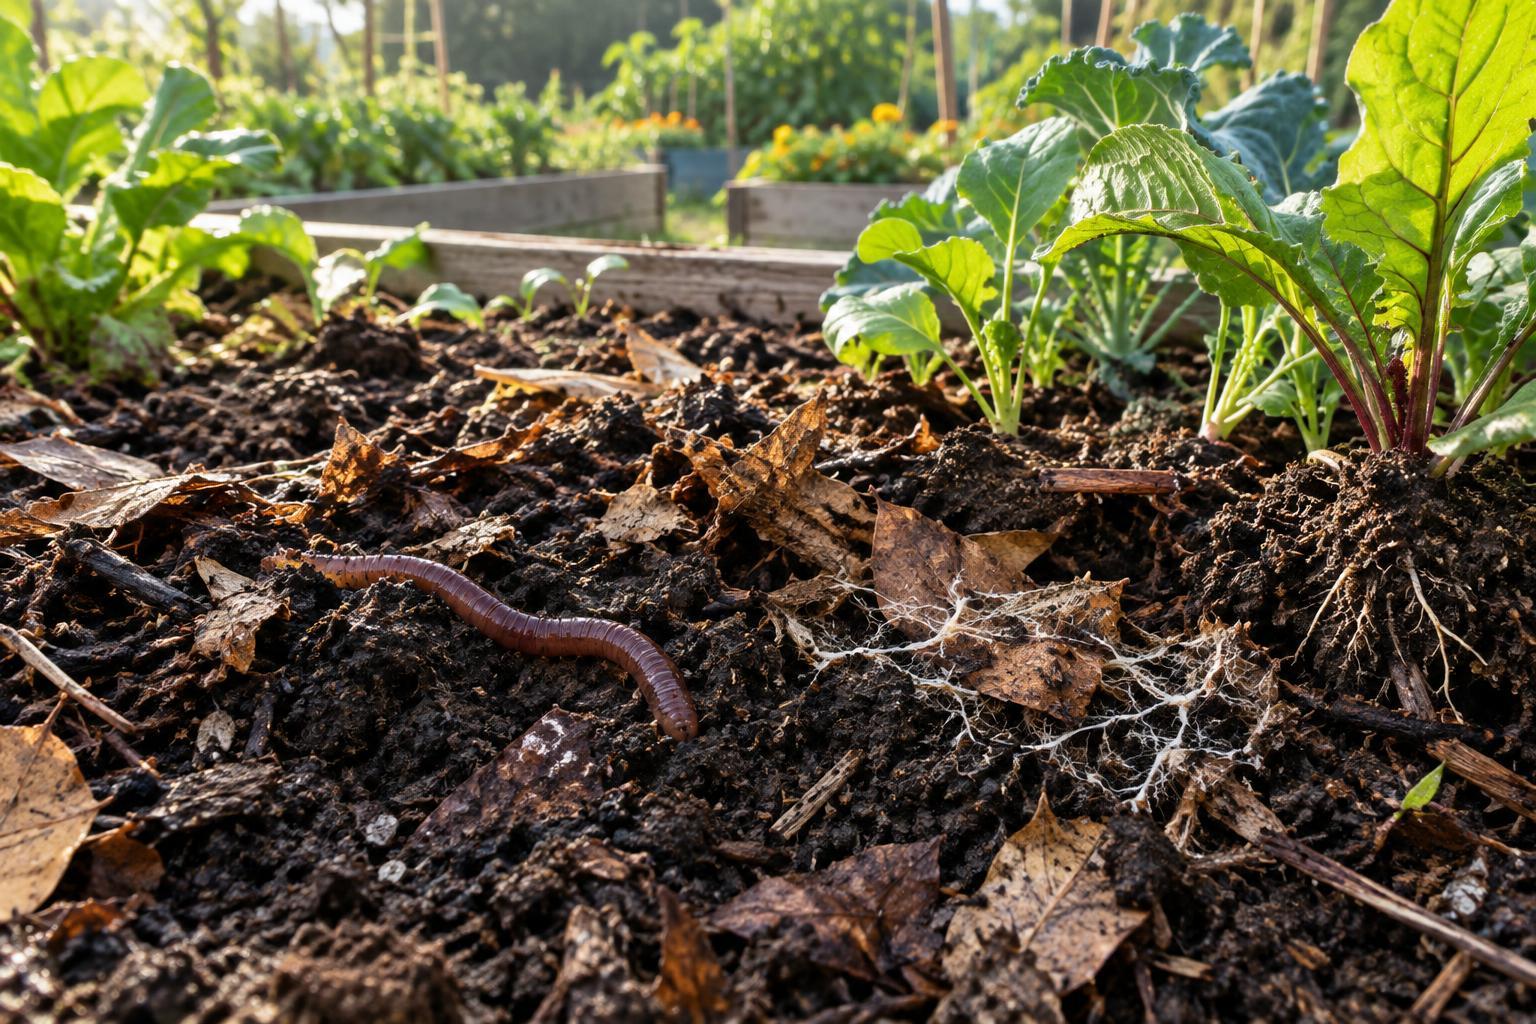
Mulch is useful in a flower bed because it covers bare soil, slows surface drying and can make small weeds easier to spot and remove. It is not a substitute for watering or weeding, however. Before adding any, look at how the bed behaves after rain and during dry weather. A sunny, exposed bed may benefit from a protective layer, while a shaded bed that stays damp may need only a light covering.
Check the base of existing plants, too. Some perennials form a low crown of buds and stems at soil level. Others spread by shallow shoots that you may want to see as they emerge. If last season’s mulch is still covering the soil, loosen it and assess its depth before buying more. Replenishing a thin area is often more useful than adding a fresh layer over the entire bed.
Choose a Material You Can Manage
Shredded leaves, leaf mold, fine bark and wood chips are all possible mulches for ornamental beds. Their appearance and behavior differ: fine materials can settle into a dense layer, while coarse pieces leave more open space between them. Choose a material that suits the scale of the planting and is practical for your gardeners to obtain and move. A small bed of delicate flowers may be easier to maintain with shredded leaves or fine bark than with large, coarse chips.
If you use leaves, shred or crumble them so they are less likely to form a mat. Keep any mulch free of obvious weed seeds and unwanted plant fragments. Avoid treating one material as the perfect choice for every bed; the useful test is whether it stays in place, lets water reach the soil and can be pulled back easily when plants need attention.
Prepare the Soil Before Covering It
Weed first, removing roots where you can rather than hiding the growth under mulch. Clear fallen stems and other debris that might make it difficult to see the plants. If the soil is dry, water it before spreading the new layer; mulch helps conserve moisture already in the ground, but it may also make a dry surface harder to notice later.
Mark the positions of dormant perennials and bulbs if several people work in the bed. A simple plant label or planting sketch can prevent someone from placing a shovel where new shoots are expected. Leave room to inspect plants that have struggled, and address obvious drainage problems rather than trying to cover them with a thicker layer.
Spread a Loose Layer, Not a Mound
Apply mulch across the open soil and keep it away from stems and crowns. A loose layer of roughly two inches is a reasonable starting point for many established beds, but the right amount depends on the material and the plants. Use less around small seedlings and low-growing plants, which can disappear beneath even a modest layer. Spread by hand near crowded clumps so you can see where the mulch lands.
Do not heap mulch against shrub stems or pack it into the center of a perennial. Leave a small visible gap around each plant’s base. After spreading, gently check that emerging shoots are uncovered and that water can reach the soil rather than running off a compacted surface. The goal is a continuous cover between plants, not a uniform depth at every stem.
Make Maintenance Easy for the Whole Team
Revisit the bed after watering or a good rain. Pull back the mulch in a few spots to feel the soil beneath it; a surface that looks dry does not always mean the root zone needs water. As the season progresses, remove weeds while they are small, uncover shoots that push up through the layer and rake back mulch that has drifted over plant crowns. Top up only where the soil has become exposed.
In a shared garden, note when the bed was mulched, what material was used and which plants need extra care. That gives the next volunteer a starting point without turning routine upkeep into guesswork. For more ideas about handing off and checking shared tasks, browse Delivery and Review · Link to Project. If your group is setting up a simple way to keep planting notes together, browse Documentation · Link to Project.