Start with the question you want the test to answer
A laboratory analyzes the soil you send, not the entire garden. A scoop from one convenient corner may miss important differences across a bed. To make the result useful, collect several small portions from an area that has similar soil, planting plans, and management history, then combine them into one sample. This combined, or composite, sample is intended to represent that area.
Before digging, choose a laboratory and read its collection and submission instructions. Check which tests it offers, how much soil it needs, what sampling depth it recommends for your purpose, and whether it supplies bags or forms. Instructions may differ for vegetable beds, lawns, containers, and tests for substances other than routine nutrients. Follow the laboratory’s directions when they differ from general guidance.
Decide what belongs in each sample
Walk through the growing space and sketch or note its distinct areas. A shared vegetable bed that has received the same compost and fertilizer over time can usually be treated as one sampling area. A new bed, an established perennial border, and a lawn are better sampled separately. Keep areas apart when they differ in soil appearance, drainage, amendments, or past use. Separate samples make the results easier to act on without applying the same recommendation everywhere.
Avoid folding an unusual spot into a general sample. Soil beside a compost pile, under a downspout, or where fertilizer spilled could distort the result for the rest of the bed. If that spot is the concern, sample it separately and label it clearly. In a community garden, record which beds share a sample before collecting soil so that everyone understands what the result does—and does not—represent.
Collect small portions across the area
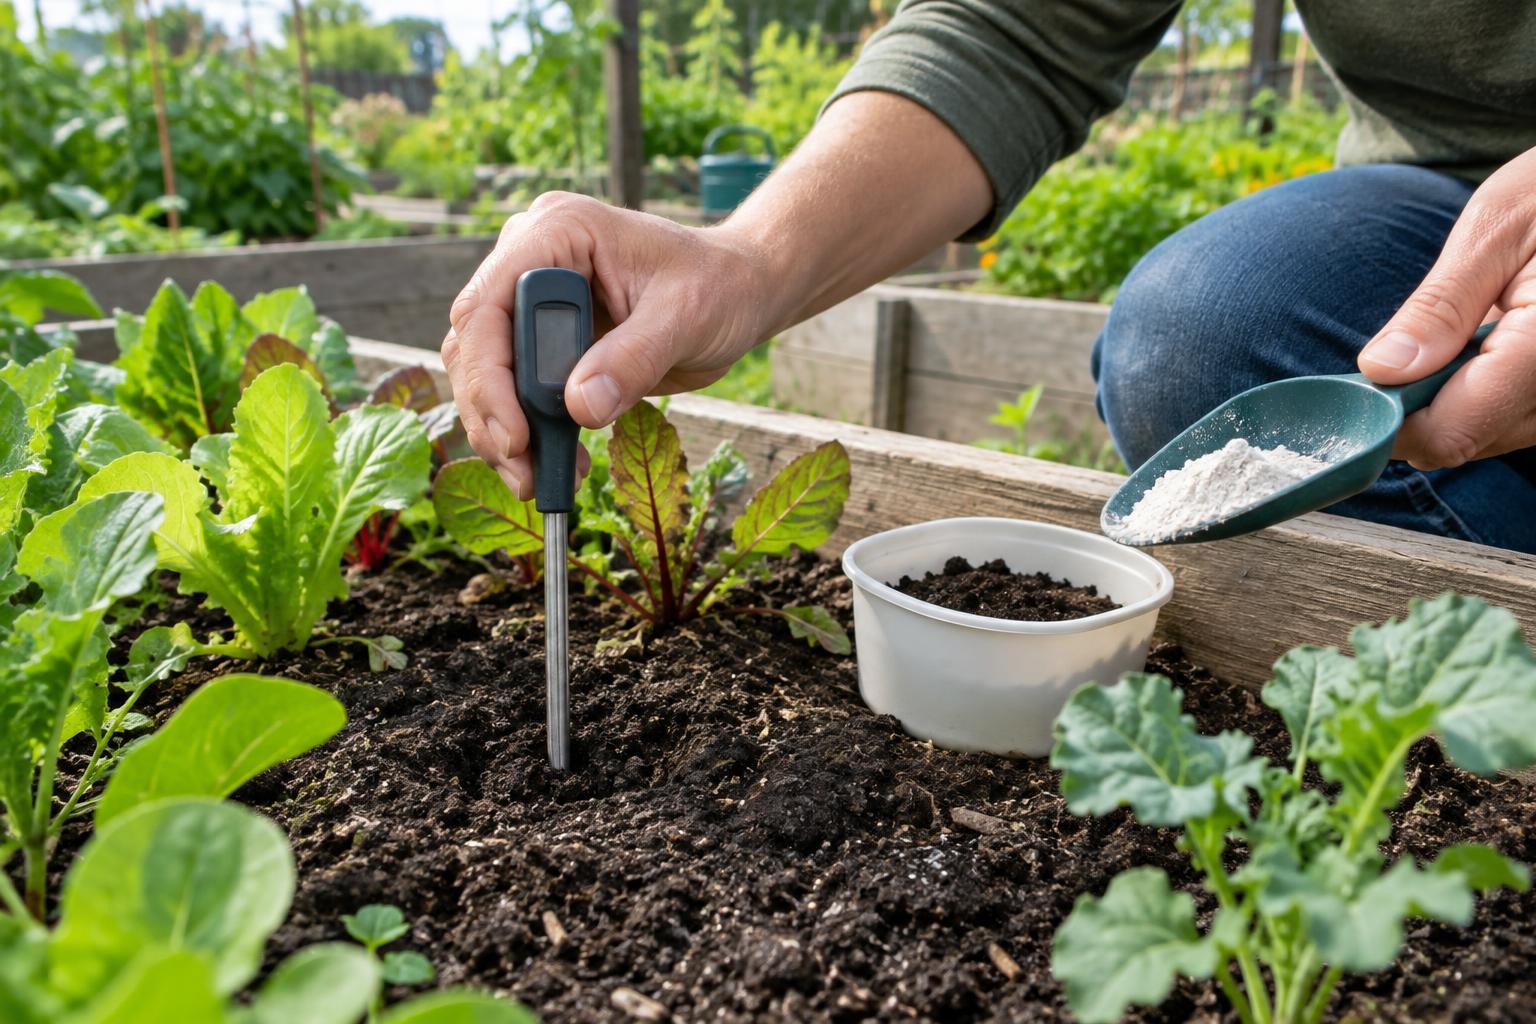
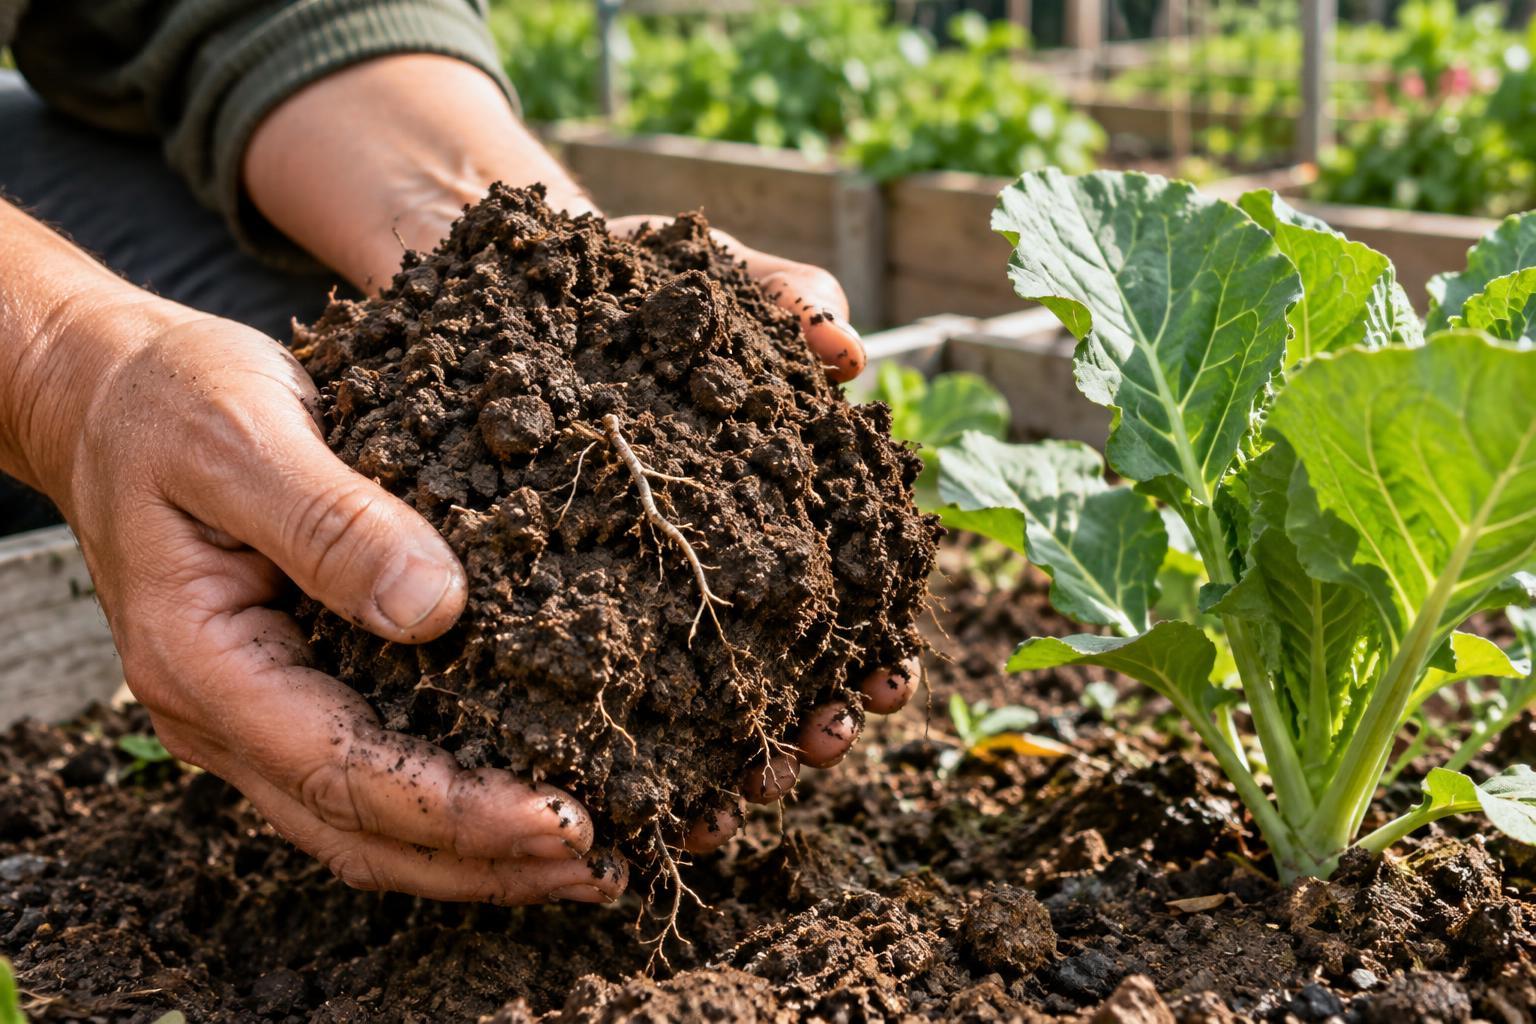
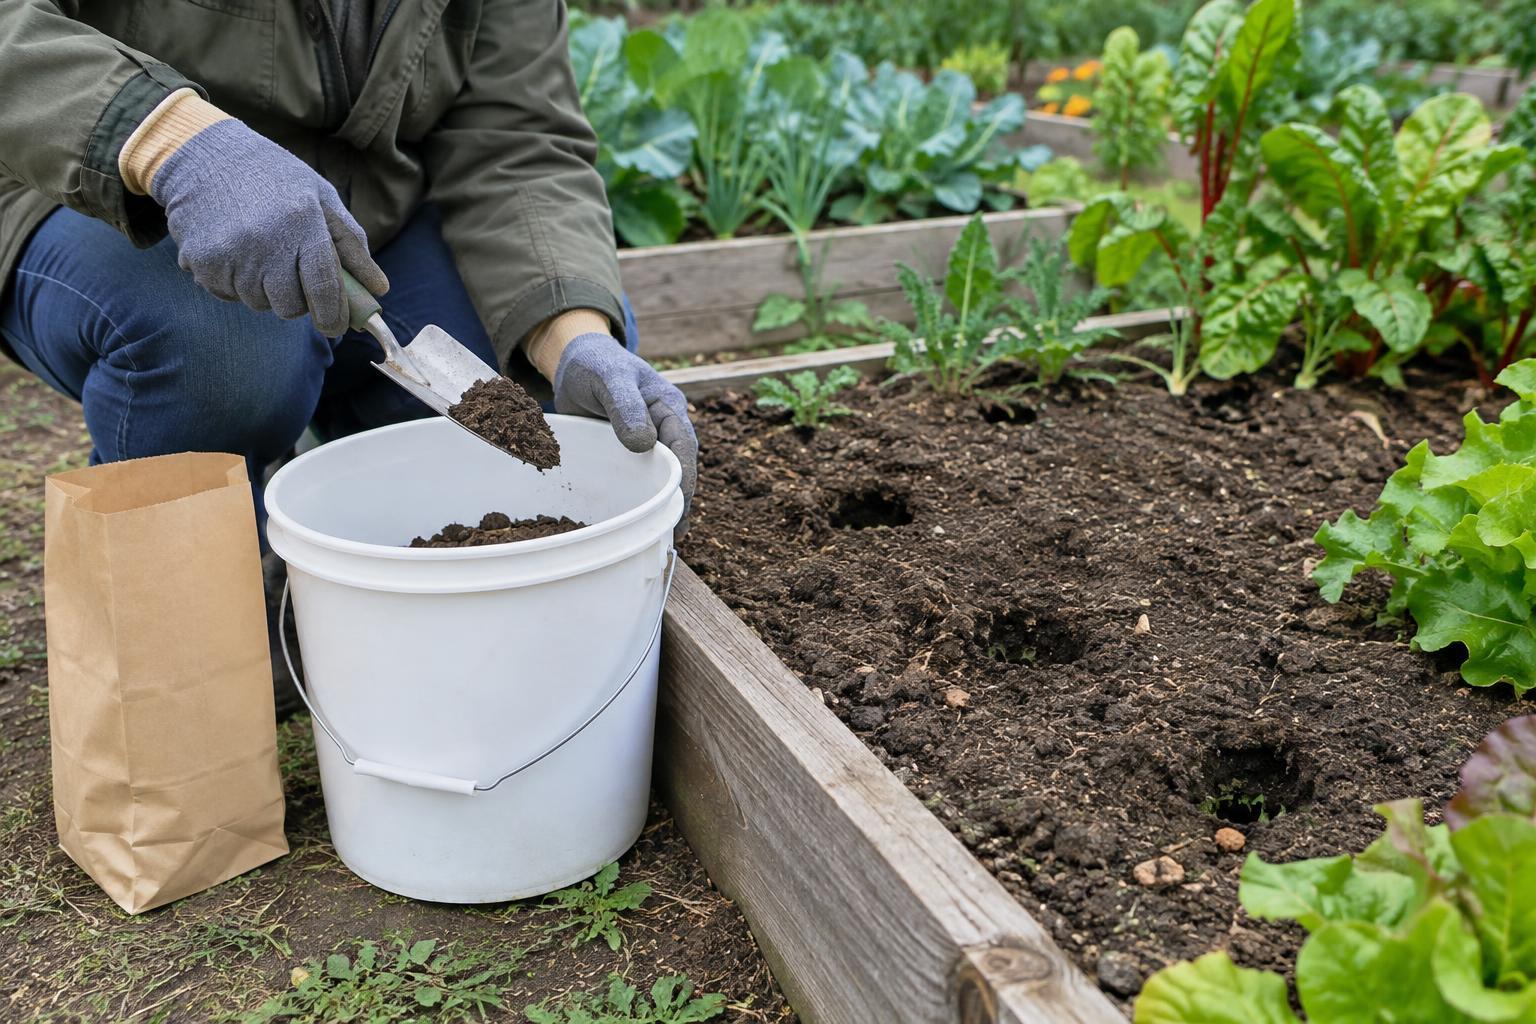
Use a clean soil probe or a clean trowel, a clean plastic bucket, and the container requested by the laboratory. Remove leaves, mulch, and other loose surface material from each sampling point without scraping away the soil beneath. Then take a narrow portion of soil to the depth specified by the lab. If using a trowel, dig a small hole and take a thin slice from its side so that the sample includes soil through the intended depth rather than mostly soil from the surface.
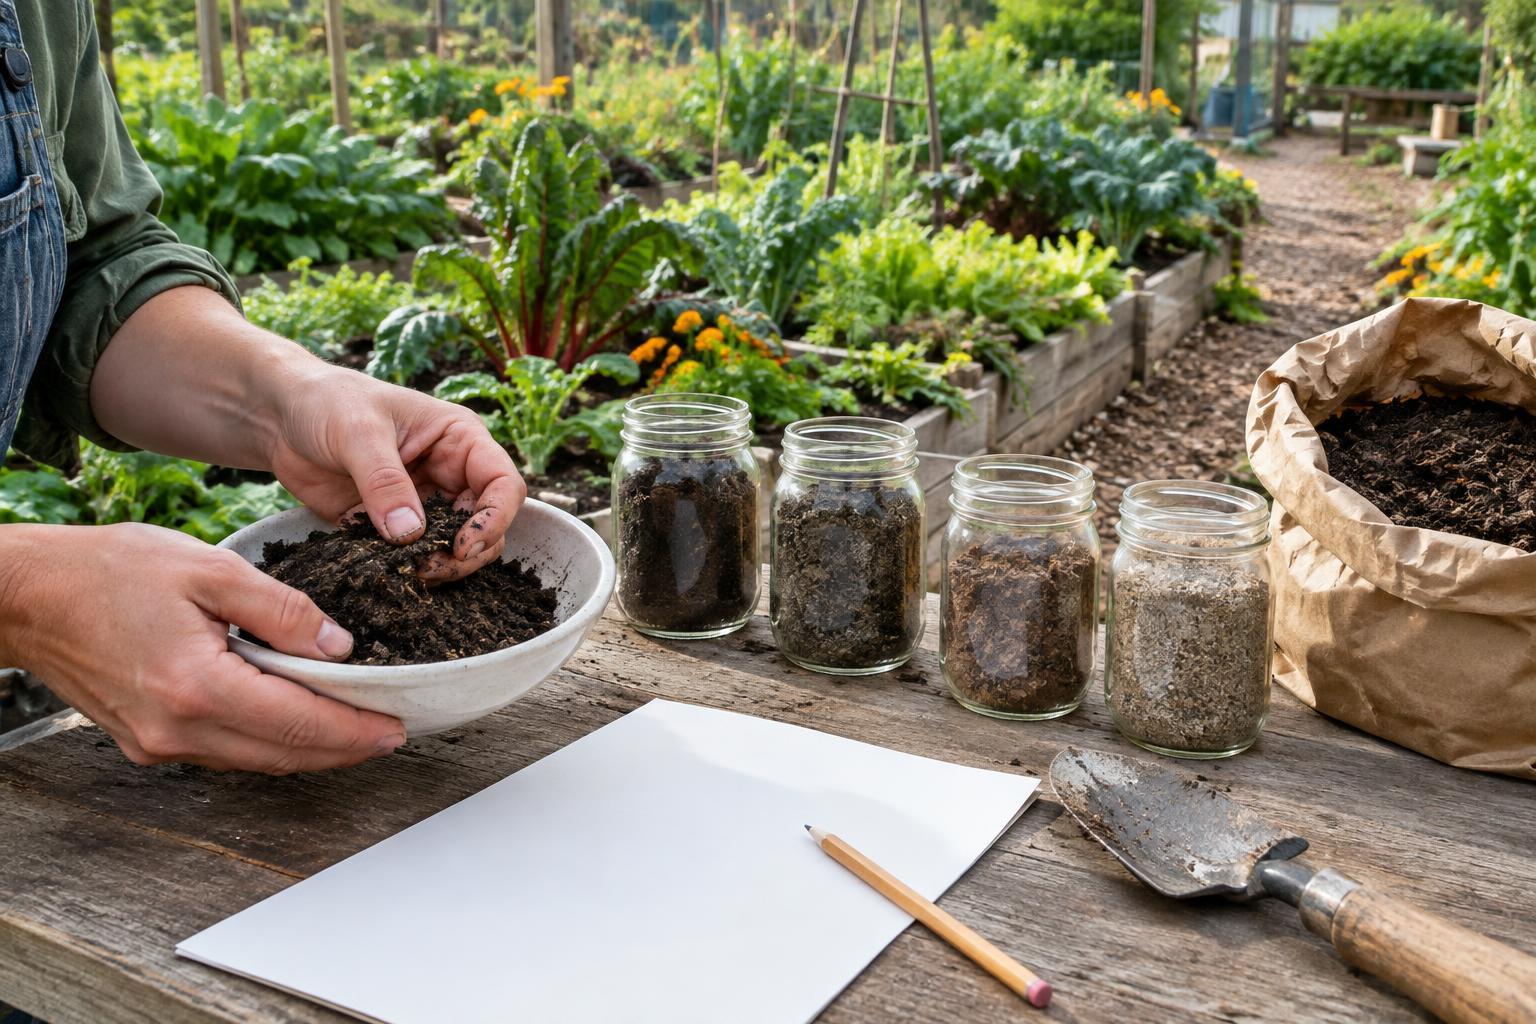
Move around the area in a loose zigzag pattern, taking similar-sized portions from multiple places. The aim is broad coverage, not a perfect geometric pattern. Put the portions for that area into the bucket and break up large clumps with a clean tool. Remove stones, roots, and visible plant debris, then mix the soil thoroughly before taking the amount needed for submission. Do not add soil from a different bed to make up the required quantity.
Keep sampling tools and containers free of fertilizer, lime, compost, and residues from other samples. Clean them between areas, especially when one area has a distinct history or you are requesting a test for a potential contaminant. If the soil is very wet, consider waiting until it is easier to handle, unless the laboratory advises otherwise.
Package and label without losing the context
Transfer the mixed soil into the laboratory’s container or an approved clean bag. Follow its instructions for drying or shipping; do not assume every test calls for the same preparation. Seal the container securely and label it with a short name you can match to your garden notes, such as “north vegetable bed.” Complete the submission form with the requested planting and management details. Those details can help the lab provide results or recommendations suited to the intended use.
Keep a simple record of the sampling date, locations, approximate depth, and any recent compost, fertilizer, or lime applications. A sketch can be especially useful in a shared garden, where beds may change hands between seasons. Store a copy of the labels and forms so that results can be matched to the right areas later.
Use the results for the area they represent
When results arrive, interpret each report in light of the area sampled and the tests requested. A routine nutrient test does not necessarily assess soil for lead or other contaminants. If a site has a concerning history, ask the laboratory which separate tests and collection method are appropriate before sampling. Likewise, a result from one bed should not automatically guide amendments in a bed with a different history.
Representative sampling is less about collecting a large pile of soil than about collecting the right small portions. Clear boundaries, consistent depth, clean equipment, careful mixing, and accurate labels give a laboratory result a much better chance of informing useful garden decisions.